Parameters
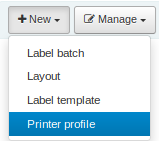
Printer profile
1. Go to Tools › Label creator
2. Click on New and select Printer profile
3. Fill in the form

Printer name : assign a printer name (something specific to identify the printer easily)
Paper bin: define a name (something specific to identify the paper bin easily)
Template name : It will be automatically added by the system
Units : select the measurement scale
Offset : adjust this value — if all the text is off center (vertically or horizontally).
Creep : adjust this value — if the text is off center on the labels
4. Click on Save.
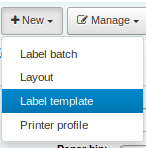
Create a label template
1. GO to Tool > Label creator
2. Click on « New» then select «Label template»
3. Fill in the form
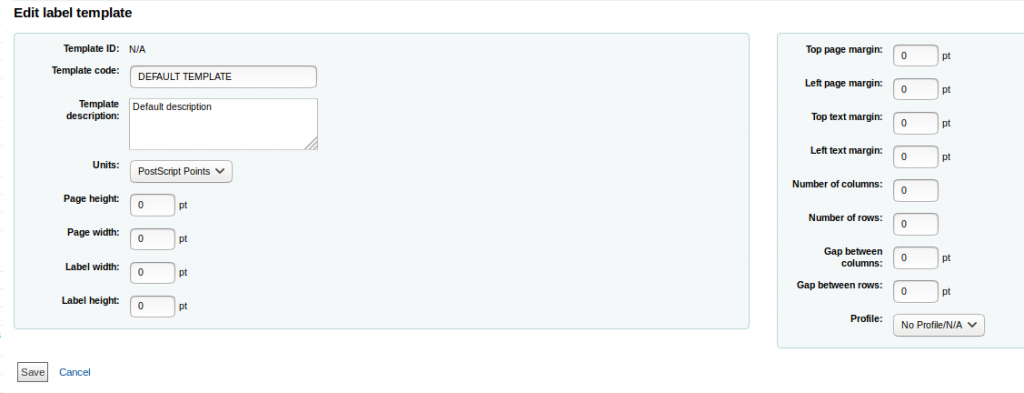
Template ID : It will be automatically added by the system
Template code : define a name (something specific to identify the label template easily)
Template description: add additional details about the label template
Units : select the measurement scale
Page Height : add the page height
Page Width: add the page width
Label width: add the label width
Label height : add the label height
Top page margin : Distance from top to the edge of the first label
Left page margin : Distance on the left side before the first label
Top text margin : Distance of the text from the top of label
Left text margin : Distance of the text from the left side of label
Number of columns : How many columns does the sheet have?
Number of rows : How many rows does the sheet have?
Gap between columns : Distance between labels (left to right)
Gap between rows : Distance between labels (bottom to top)
Profile : select a printer profile – if you intend to use it on a specific printer
4. Click on Save.
Create a label layout
1. Go to Tool > Label creator
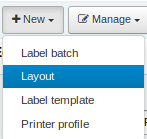
2. Click on « New » then select « Layout »
3. Fill in the form
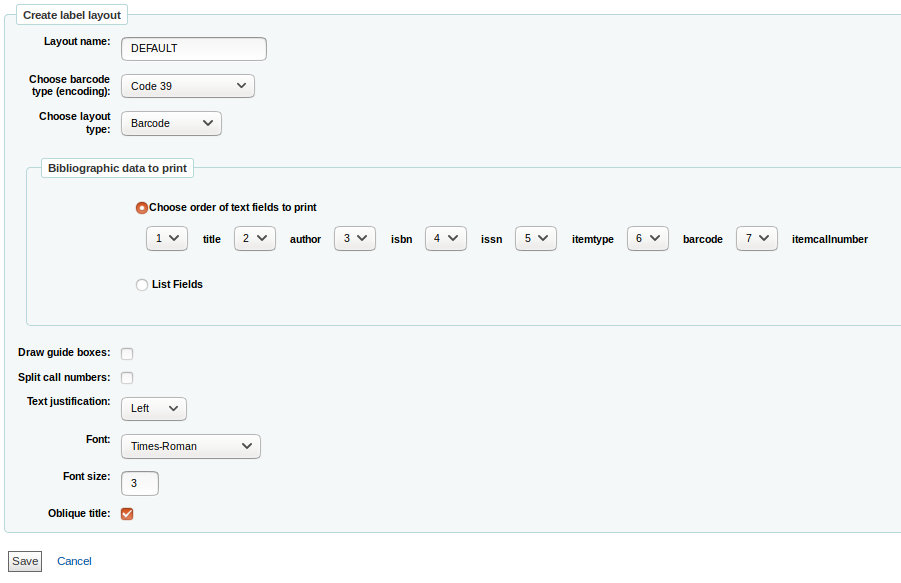
- Layout name : assign a specific name (something specific to identify the layout easily)
- Choose barcode type (encoding) : if you are creating a barcode layout, select the barcode type (code 39 is the most common barcode since it has the ability to encode numeric digits and letters)
- Choose layout type:
◦ Biblio : this is the spine label option (select what information should be included: call number, item type, title, author’s name, publisher, and more.)
◦ Barcode/ Biblio : this option generate two line labels with a barcode first and the bibliographic information bellow (on the same label)
◦ Biblio/ Barcode : this option generate two line labels with bibliographic information first and the barcode bellow (on the same label)
◦ Alternating : this option generate two separate labels: a label with a barcode and a second one with the bibliographic information
◦ Barcode : use for barcode only
- Bibliographic data to print
◦ Choose order of text fields to print : leave the box empty if the field is unnecessary
title, author, isbn, issn, itemtype, barcode and itemcallnumber
◦ List Fields : use this option to add unlisted fields (e.g. specific MARC subfields)
◦ Draw guide boxes : this option will draw a red line around each label
◦ Split call number : if the callnumber needs to be split in more than one line
◦ Text justification: select how the text should be aligned on the label (center or left or right)
◦ Font : select the font type
◦ Font size : select the font size
◦ Oblique title : if the title should be written in italics
4. Click on Save
Print labels
Create a label batch: Barcode method
1. Go to Tools › Label creator
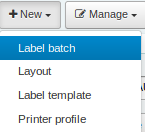
2. Click on « New », then select « Label batch »
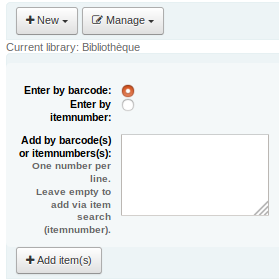
3. Select: « Enter by barcode »
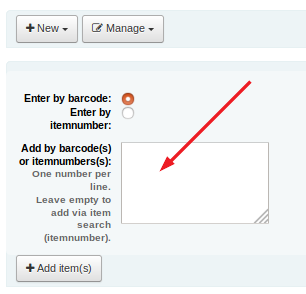
4. In the « Add by barcodes or itemnumbers » dialog box, scan one barcode per line or copy and paste barcodes from a file (only one barcode per line)
5. Click on « Add item(s) »

6. A list of all items should appear at the bottom of the page.
7. Click on « Export full batch »
8. On the pop-up window, select what label template to print and what layout to use. Then, add where the label should start on the page.
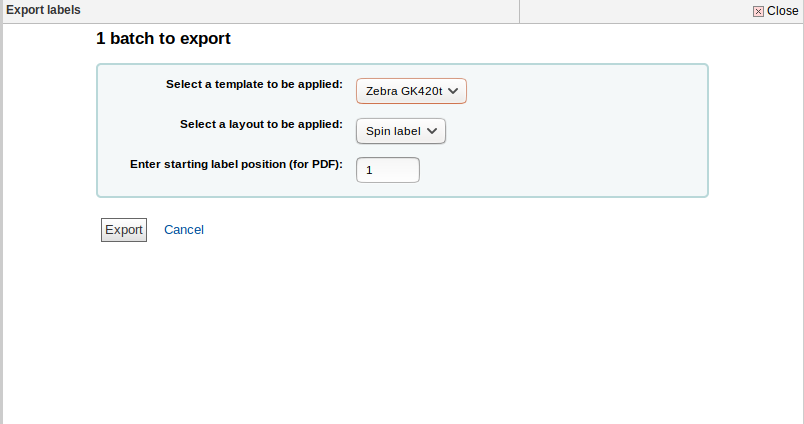
9. Click on « Export ».
10. Download the file. To print labels, select the PDF file.
11. Finally, open the PDF file and print the label batch.
Create a label batch: Search for items method
Use this option if all your items were added to the catalog during the same time period.
1. Go to Tools > Label creator
2. Click on « New » then select « Label batch »
3. Click on « Add items »
4. In the pop-up window, select the time period when the items were catalogued. Choose 1 of 3 options:
- added on or after a specific date
- added on or before a specific date
- added after and before.
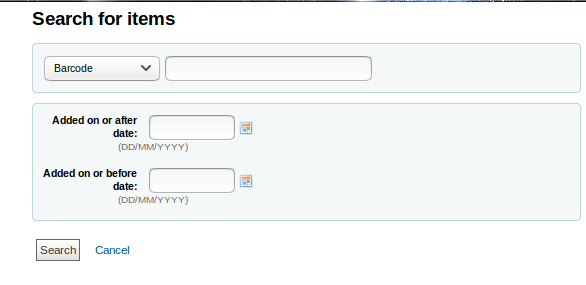
5. Click on « Search » to see the full list of results.
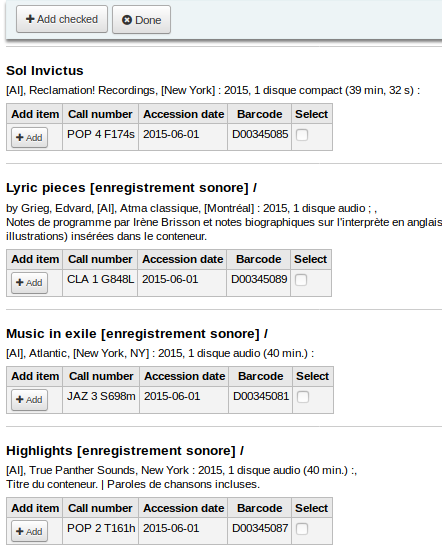
6. To add items to batch, use one of these options:
a) To add all the search results: click on « Select all », then click on « Add checked »
b) To add selected items only: check the item box on the right-hand side of each wanted items. Then, click on « Add checked »
c) To add one item: click on « Add » on the left-hand side of the item
7. Click on OK
8. To create and save the batch, click on « Add item ».
9. A list of all items should appear at the bottom of the page.
10. Click on « Export full batch »
11. On the pop-up window, select what label template to print and what layout to use. Then, add where the label should start on the page.
12. Click on « Export »
13. Download the file. To print labels, select the PDF file.
14. Finally, open the PDF file and print the label batch.
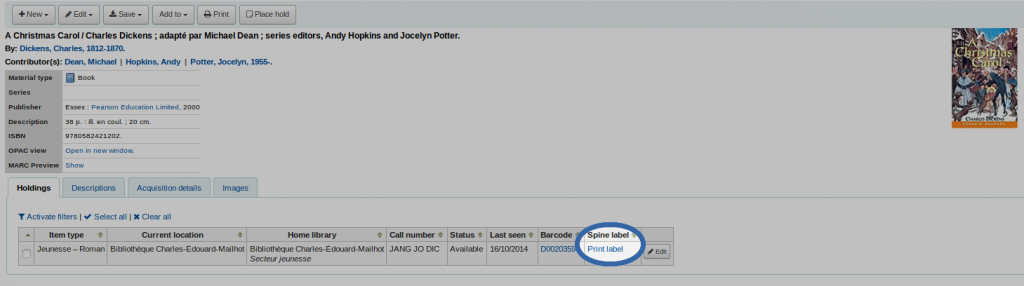
Printing a single spine label
1. Go to Search
2. Find the item record
3. In the results list, access the record by clicking on the title
4. Click on print label (beside the barcode).