
Skip to main content
Configuration
You must first create file categories. These categories can be anything. You can even create only one category that will contain all the files.
Here are some examples:
- OPAC
- Internal
Or:
- Images
- Videos
Or even:
- All
To create your categories:
Upload files
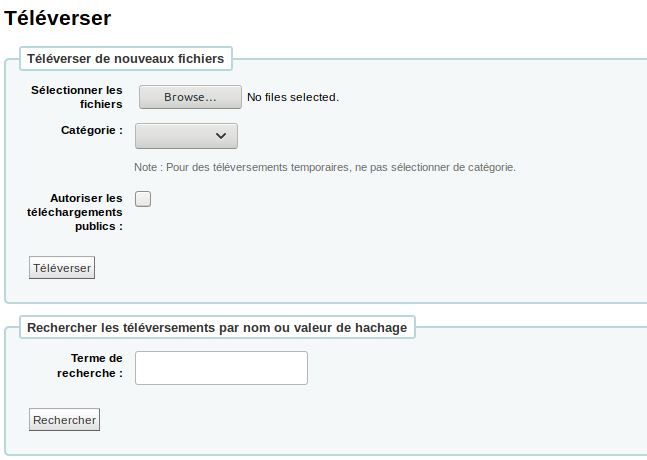
- Go to Tools > Upload
- Click “Browse” and choose the file to upload
- Choose in which category to put the file
Warning: If you don’t choose a category, this file will be considered “temporary” and will eventually be deleted.
- If this file is to be used in the OPAC, check the “Allow public downloads” box
- Click “Upload”
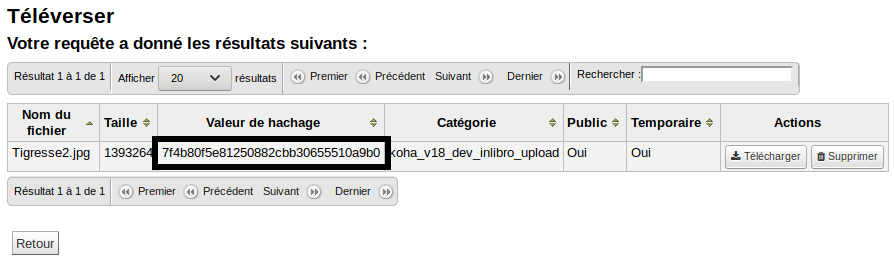
- Copy the “Hashvalue”
The URL for the file is created like this:
- URL of the OPAC
https://biblio.ville.qc.ca
- followed by
/cgi-bin/koha/opac-retrieve-file.pl?id=
- and ends with the hashvalue of the file
7f4b80f5e81250882cbb30655510a9b0
So the URL should look something like this
https://biblio.ville.qc.ca/cgi-bin/koha/opac-retrieve-file.pl?id=7f4b80f5e81250882cbb30655510a9b0
See also
- Add an image in a news item
- Attach a file to a record