
Skip to main content

Material needed
- Computer dedicated to self checkout
- Barcode scanner
- Receipt printer (optional)
Create a “self checkout” patron
You must create a patron to connect to the self checkout interface.
- If needed, create a new patron category (optional)
- Go to Patrons > New patron and add a new patron *Note the userid and password
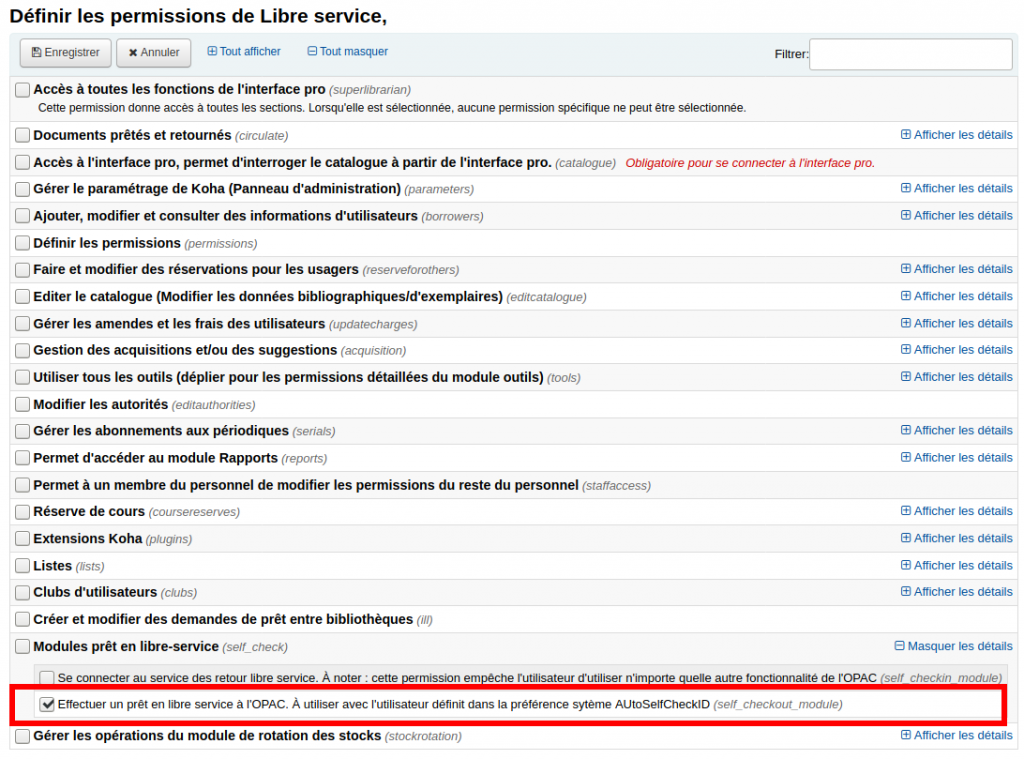
- In the patron’s file, go to More > Set permissions
- Check the permission “Perform self checkout at the OPAC. It should be used for the patron matching the AutoSelfCheckID (self_checkout_module)“
- Click on “Save”
Set up system preferences
- Go to Administration > System preferences > Circulation > Self check-out module
- Set up system preferences as follows
- AutoSelfCheckAllowed : Allow
- AutoSelfCheckID : userid of the patron created previously
- AutoSelfCheckPass : password of the patron created previously
- SelfCheckoutByLogin : choose the login method for patrons (“userid and password” or “cardumber”).
- WebBasedSelfCheck : Enable
- Click “Save all Circulation preferences”
Customize the interface (optional)
- Go to Administration > System preferences > Circulation > Self check-out module
- You can use the following system preferences to add custom text or customize the self checkout interface appearance or behaviour.
- SCOMainUserBlock : This preference lets you add text (or HTML code) in the middle of the main screen, under the login box.
- SCOUserCSS : This preference lets you add CSS code that will be applied to the self checkout interface.
- SCOUserJS : This preference lets you add JavaScript that will be applied to the self checkout interface.
- SelfCheckHelpMessage : This preference lets you add text (or HTML code) in the help page.
- SelfCheckReceiptPrompt : If you don’t have a receipt printer attached to the computer used for self checkout, disable this system preference.
- ShowPatronImageInWebBasedSelfCheck : If you store patron pictures, you can have them display in the patron file in the self checkout interface.
- Click “Save all Circulation preferences”
Set up the self checkout computer
- On a computer that will be used as the self checkout kiosque, open a Web browser.
- Go to the following address: https://<Your OPAC URL>/cgi-bin/koha/sco/sco-main.pl
Important: Remplace the section <Your OPAC URL> with the URL for your OPAC.
If your OPAC has the URL
https://biblio.ville.qc.ca
The address for the self checkout interface will be
https://biblio.ville.qc.ca/cgi-bin/koha/sco/sco-main.pl
- Add the address to the bookmarks (optional)
Use the self checkout interface
Checkout
- On the self checkout computer, the patron must log in either with their userid and password, or with their card number (depending on the SelfCheckoutByLogin system preference).
- The patron can scan the item’s barcode in the box
- Once all the barcode have been scanned, click “Finish”
Note: If the patron doesn’t click on “Finish”, they will be logged out after 2 minutes of inactivity, or the duration in seconds set in the SelfCheckTimeout system preference.
Renew
- On the self checkout computer, the patron must log in either with their userid and password, or with their card number (depending on the SelfCheckoutByLogin system preference).
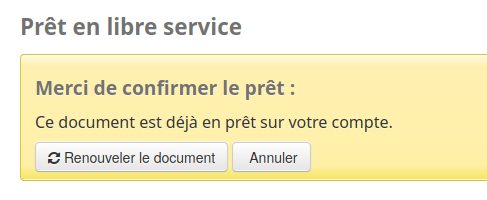
- If the patron has the item they want to renew, they can scan the barcode in the box.
- A message will appear and they must click on “Renew item”
- If the patron doesn’t have the item with them, they can click on “Renew item” on the right in the list of checkouts.
- Once all the transactions are completed, click on “Finish”
Note: If the patron doesn’t click on “Finish”, they will be logged out after 2 minutes of inactivity, or the duration in seconds set in the SelfCheckTimeout system preference.
See also
- Set up self check-in
- Set up online registration
- Edit a circulation rule
- Block checkouts if a patron has overdues