
Skip to main content
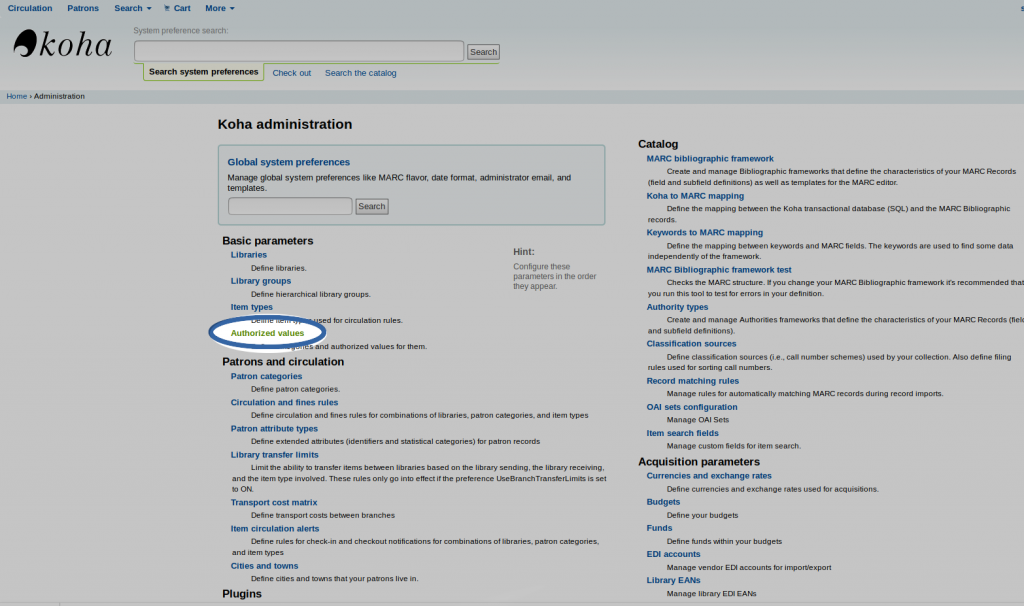
1. Go to Administration > Basic parameters > Authorized values
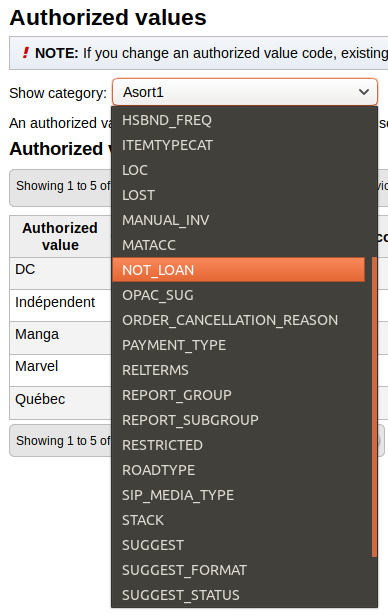
2. Select the NOT_LOAN category list
All listed values from this list should appear on the page.
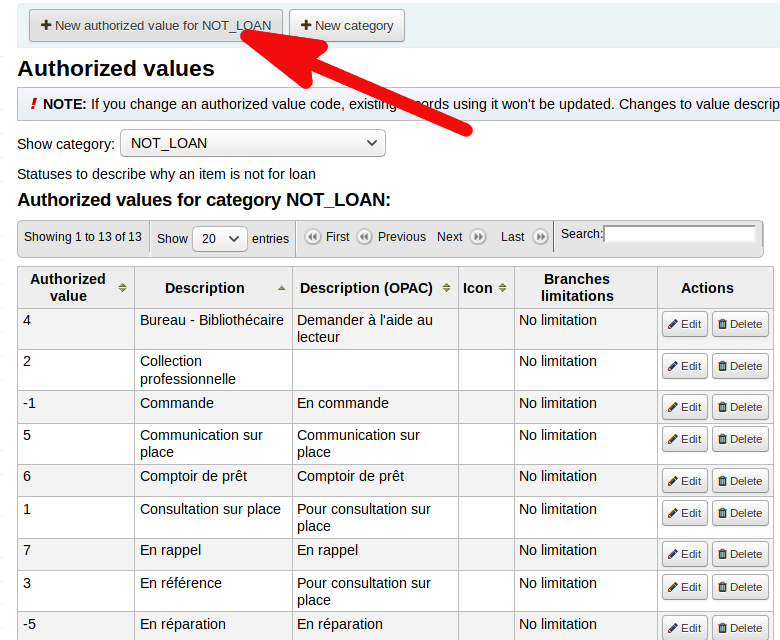
3. To add a new value, click on “New authorized value for [NOT_LOAN]”
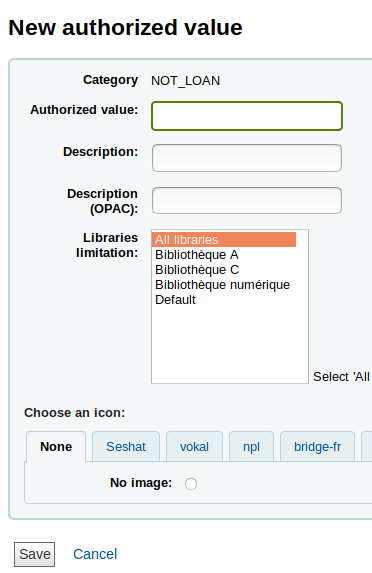
4. Enter the new value, add a name in “Description” and “Description (OPAC)” fields
- Authorized value: The value should only be numeric ( positive or negative ).
- Negative number value: will allow holds to be placed on the item (example: -5, -4, -3, -2, -1)
- Zero means the item is currently available
- Positive number value: will not allow holds and checkouts on the item (example: 1, 2, 3, 4, 5)
- Description: enter the authorized value name (visible on the staff interface)
- Description (OPAC): enter the name to display on the OPAC
5. Click on “Save”
The new value should now be included in the list.
See also:
How to add a new authorized value to a list
How to add a document type to the purchase suggestion form
How to add a type of fees in a manual invoice